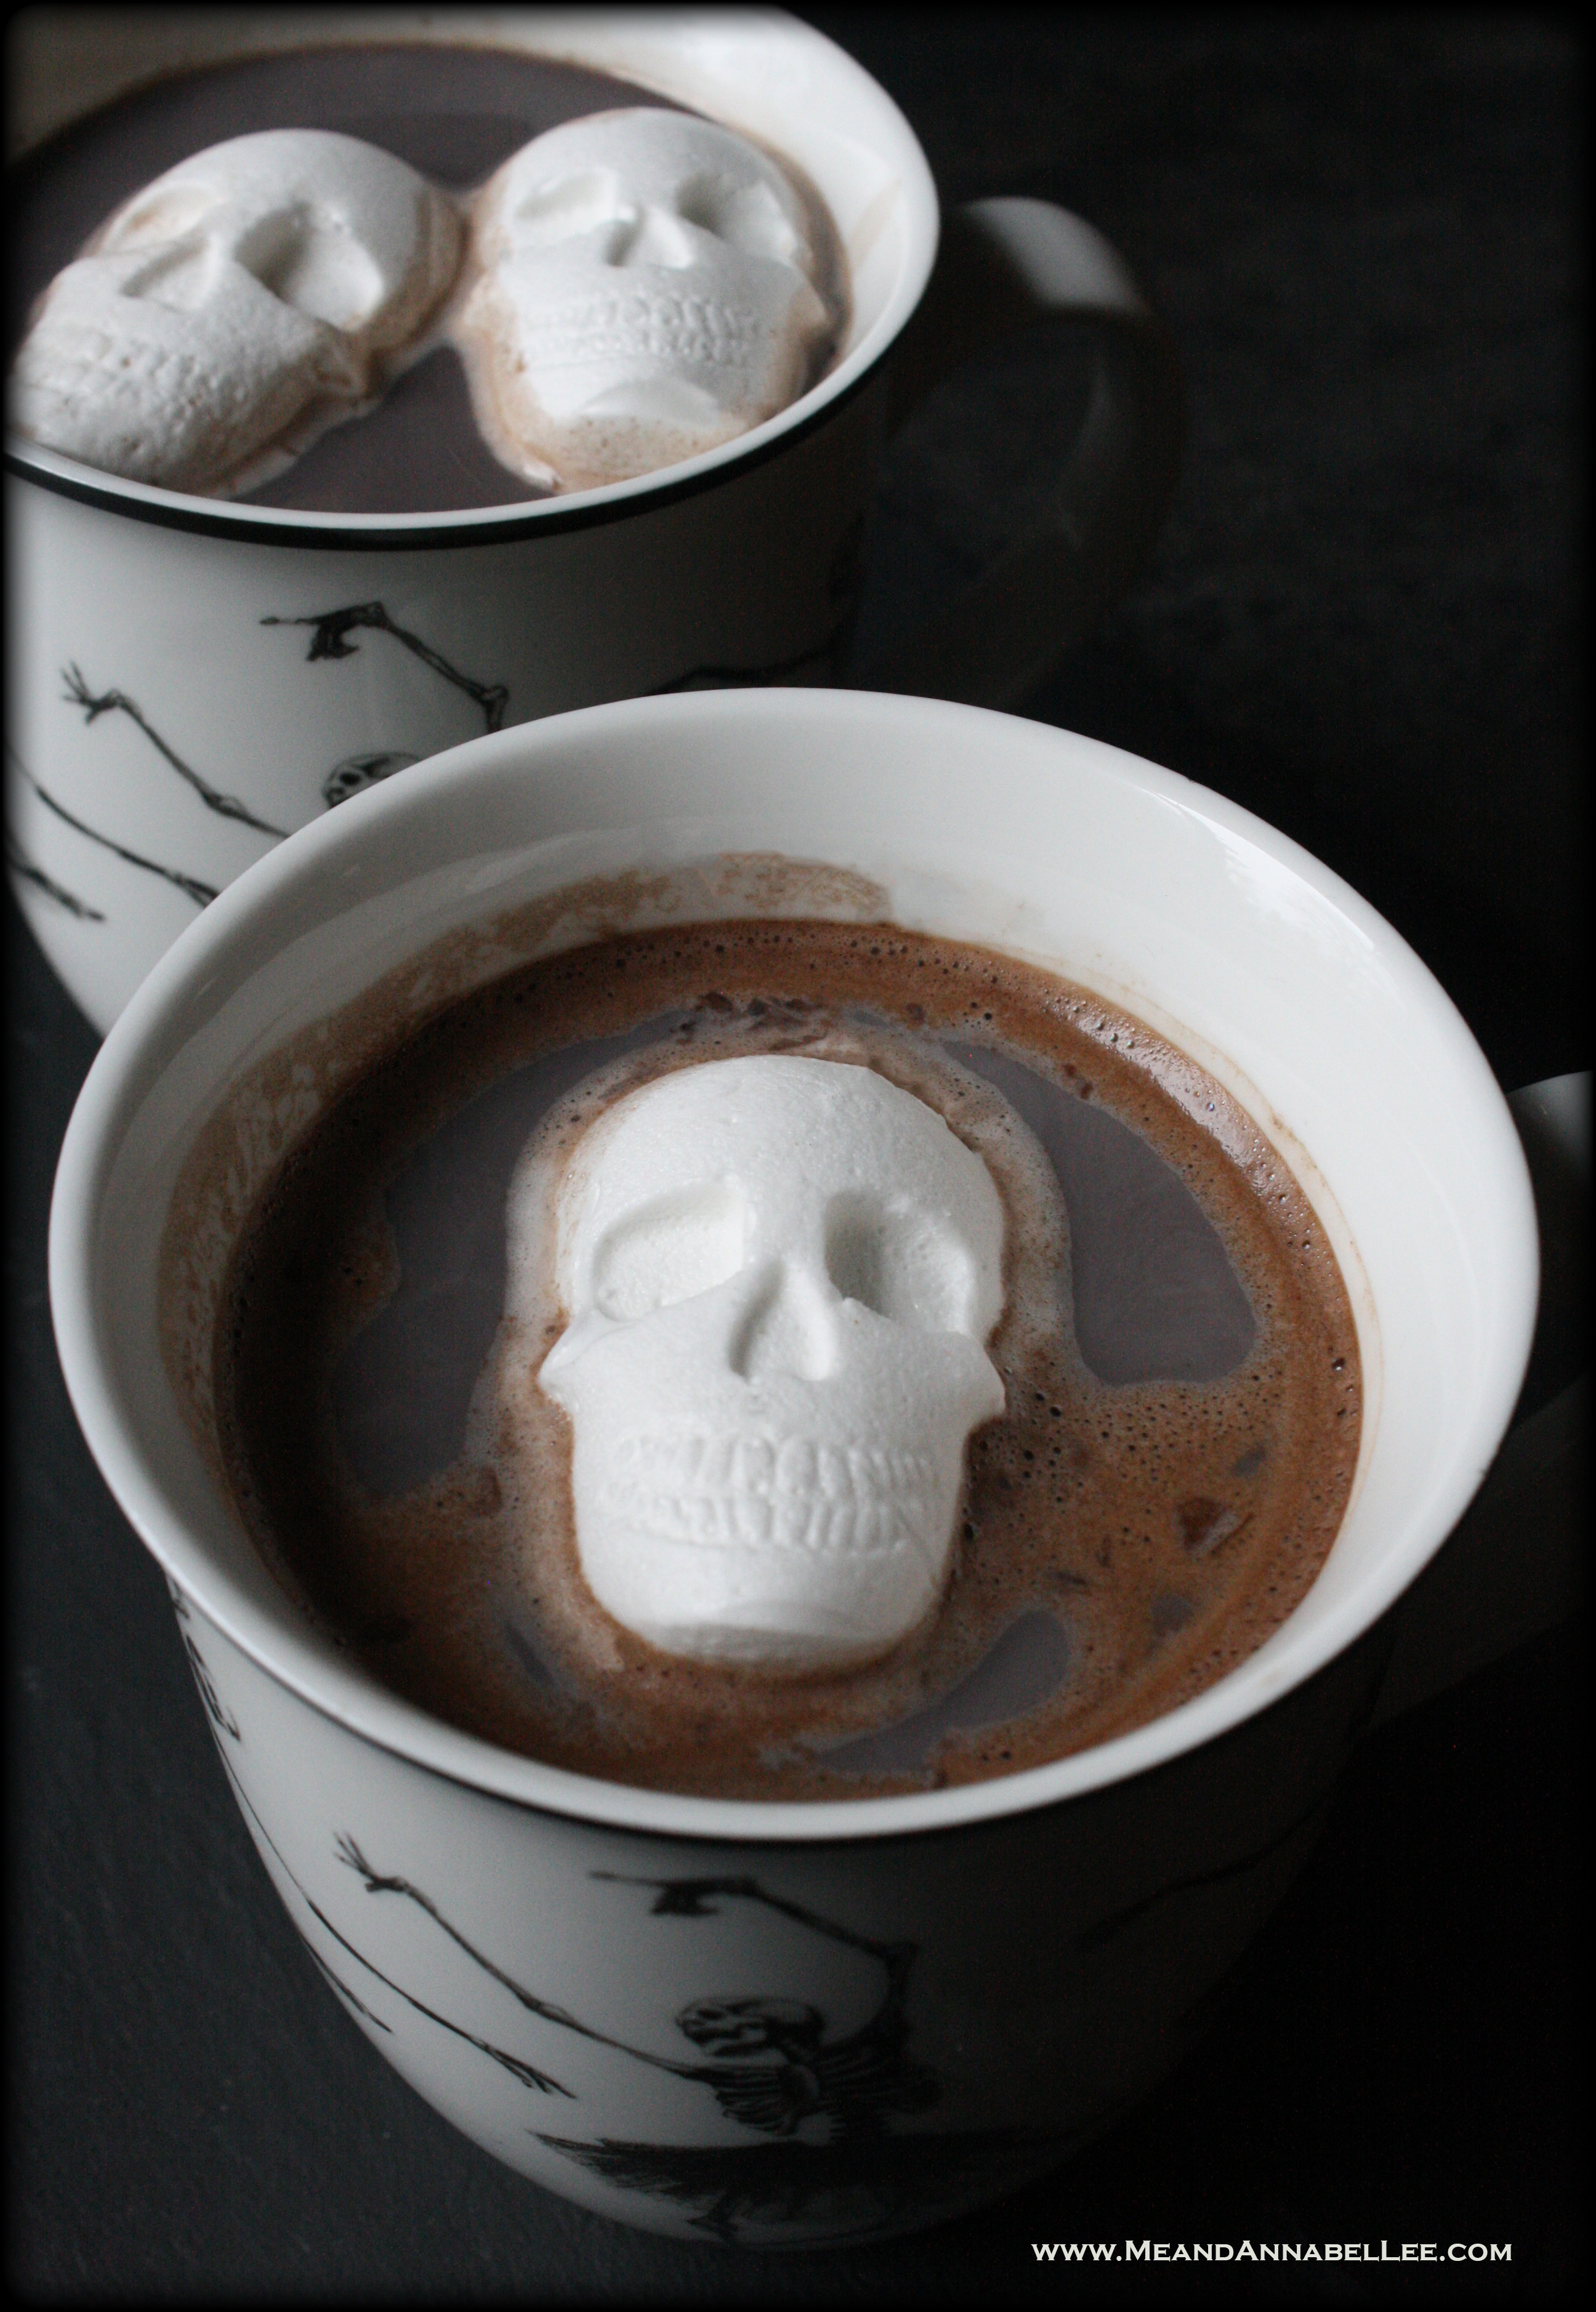
Homemade Skull Marshmallows
Author: Alexandra
Ingredients
- 1 tbsp Unflavored Gelatin (1 packet typically measures about 1 tbsp)
- ¼ cup Cold Water
- 1 cup Sugar
- ¼ cup Water
- ⅓ cup Corn Syrup
- ⅛ tsp Salt
- 1 tsp Vanilla
Instructions
- Spray your skull molds with baking spray
- Pour ¼ cup of cold water into a mixing bowl
- Sprinkle the gelatin onto the water, and let sit for about 15 minutes
- Meanwhile, in a saucepan, cook the remaining water, sugar, corn syrup and salt over medium heat
- Heat until the mixture reaches 240 degrees (softball stage)... typically takes 7-10 minutes
- Start the mixer on low to break up the gelatin mixture
- Slowly pour the hot sugar mixture down the side of the mixing bowl (so it doesn't splash)
- Continue mixing, slowly increasing the speed to the highest setting.
A few tips to keep in mind once you're at this step....
- When the mixture is ready, you will have to work VERY FAST to get it into the molds. It only takes moments for it to begin to cool, and once that happens it becomes too hard or sticky to work with... so have your molds set up and ready to go.
- It is also important to note that while the marshmallow mixture is in the mixing bowl, it will slowly be cooling. This means that you have to begin pouring it into the molds while it is warm and thickened, but not cooled and hardened. It's a fine line.
- Continue mixing for about 8-10 minutes....
- You will notice that the mixture will turn white and begin to expand.
- How to know when it is ready:
- If it is still pourable, it is not ready
- It should be slightly sticky
- The bottom of the bowl should be warm to the touch, but not hot or cold.
- Before you stop the mixer, add the vanilla, and mix thoroughly
- Once you have determined that it's ready, work fast before it has a chance to cool.
- I like to use a spatula to transfer the mixture into a piping bag (or ziploc bag). This is not the easiest of tasks... the mixture will immediately start sticking to the bag. Just transfer as much as you can... but do not worry about scraping the bowl clean... you don't have time to be particular about those kinds of things.
- It is MUCH easier to add the mixture into the mold cavities with a piping bag instead of a spoon. Believe me - I've tried both ways!
- Once the molds are filled, set aside for at least 5 hours to set, the longer the better.
- Very carefully pull the silicone tray away from the marshmallows.
- They can be stored in an air tight container for a week or so.
- I have found that the marshmallows are at their best on day 2 or 3. They seem to harden just slightly.
Recipe by Me and Annabel Lee at https://www.meandannabellee.com/homemade-skull-marshmallows/